After two kids and two moves I left this blog behind. Unfortunately, a lot of things took priority over this project as well. I am just now getting back into routinely working on this project so I thought I would try to get this blog caught up.

Currently, I have been putting a lot of work into installing the front and rear suspension from a '91 C4 Corvette. I received a few emails from some folks doing a fastback conversion like this which I hope to respond to in the near future. I apologize for taking my time but better late than never I guess.

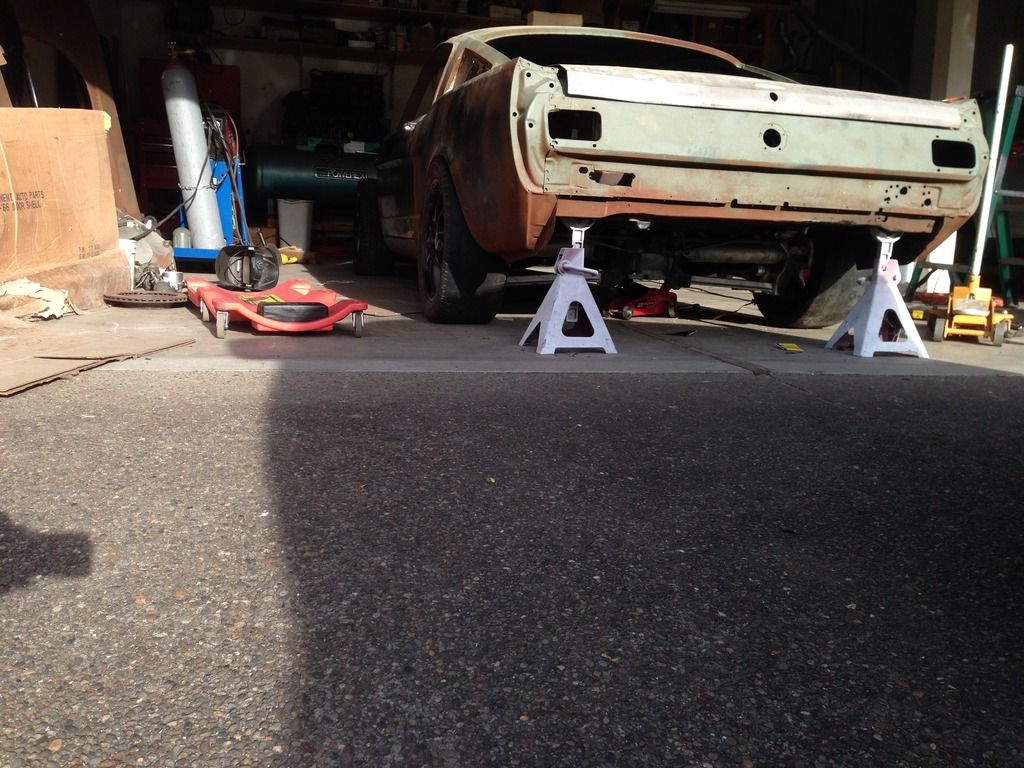
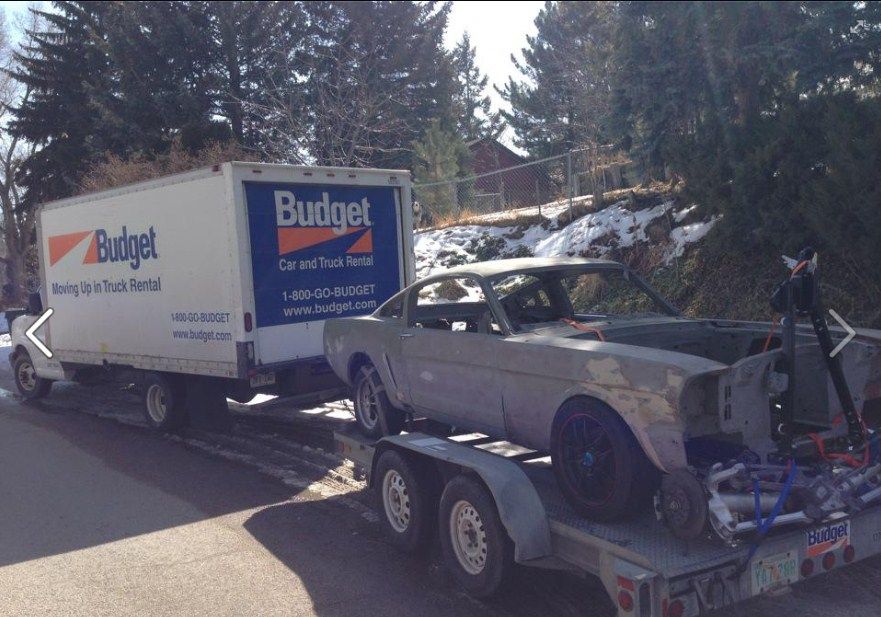
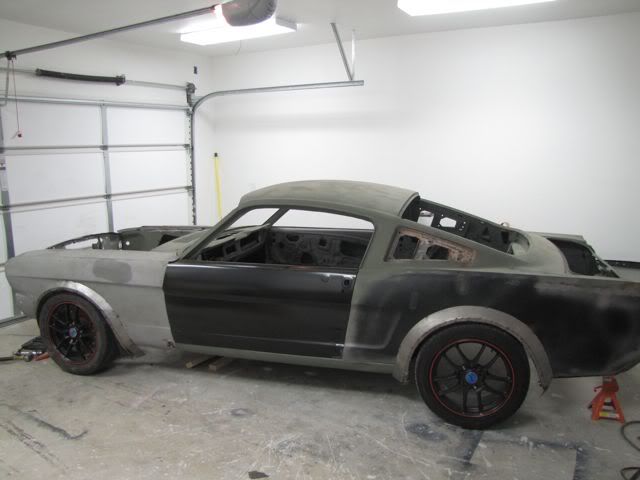
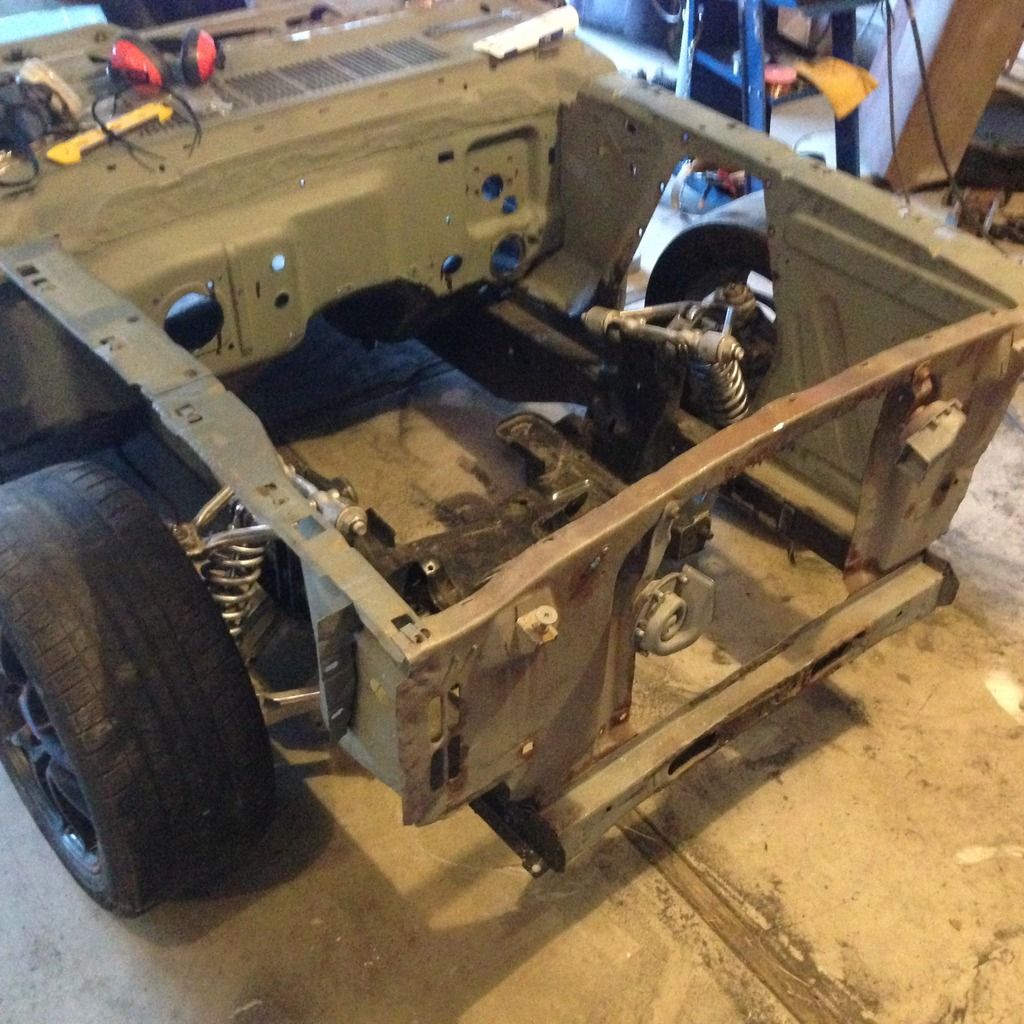
Most of these pictures are from the suspension swap The fist few were taken about 4 years ago in my newly remodels garage. We have since moved form that home in Idaho. You might notice a little more rust on the car. That's because it rained on me during move from Idaho to Oregon. Yeah I probably should have done a better job covering it but I took a chance and lost. Luckily it's only flash rust so it can be dealt with, it's just more work.

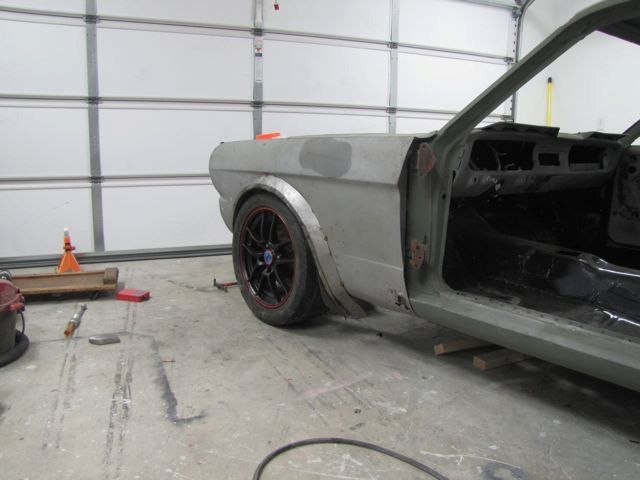
The C4 suspension is a little wider than the stock 65 mustang which is why I chose to go with these flares. I got these fender flares from
here It was so long ago I don't even know if they sell them any more. If you are interested in them, I suggest contacting them. In addition to adding width to the car the flares will allow me to cut a larger area around the tire so I can give the car a lower stance.

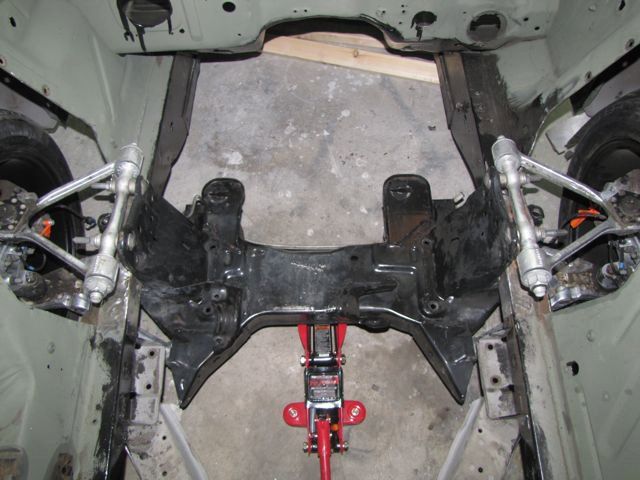
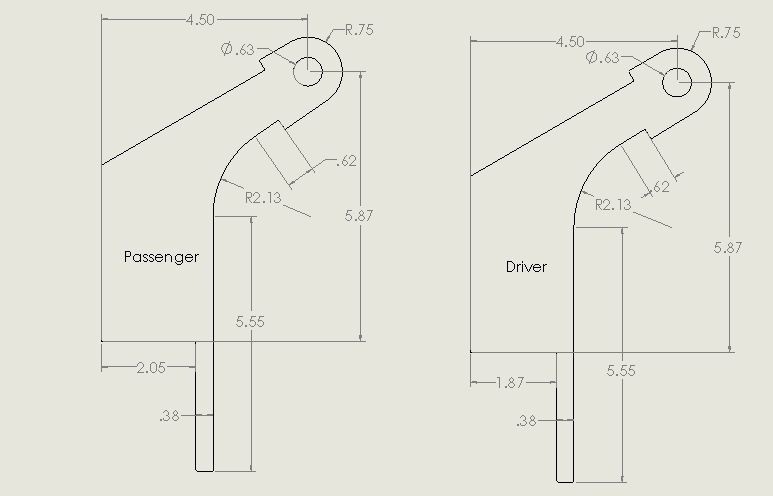
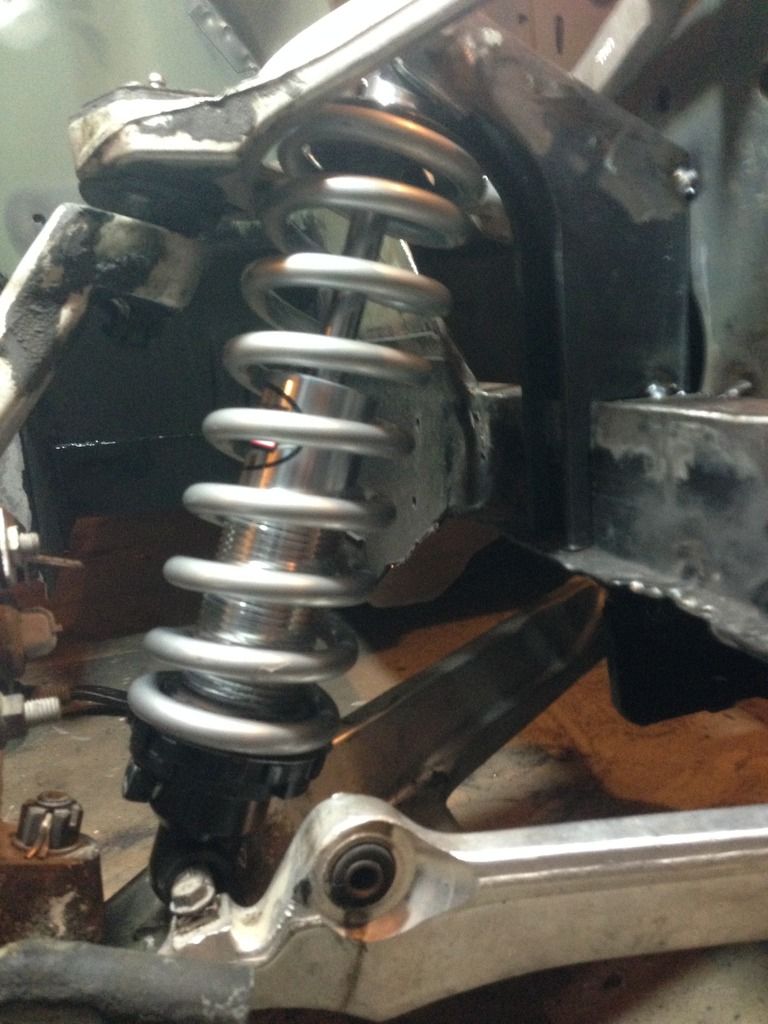
I started designing the front coilover mount on the computer. There was no real science involved in selecting the location of the crossmember. I had to make a small notch in the frame rails to accommodate the crossmember. One issue I am still working through is notching the frame to make clearance for the steering rack.

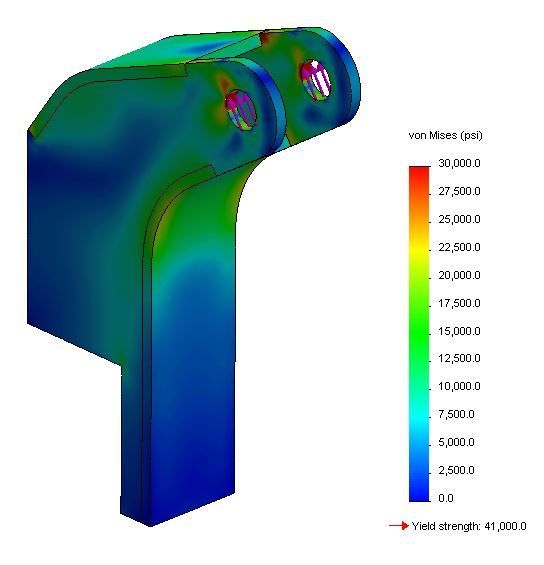
I wanted to check the strength of the mount so I backed calc the maximum load the mount could expect to see with some additional safety factor. The springs I'm using are 375lb which means the force to completely compress the spring (where are the coils are touching) is close to 1300 lbs. Since I plan an installing bump stops the mount really shouldn't see more force than that. I shock would also exert a force but I didn't bother trying to figure that out. instead I just times the maximum amount by 2 then rounded it up to an even 3000lbs.
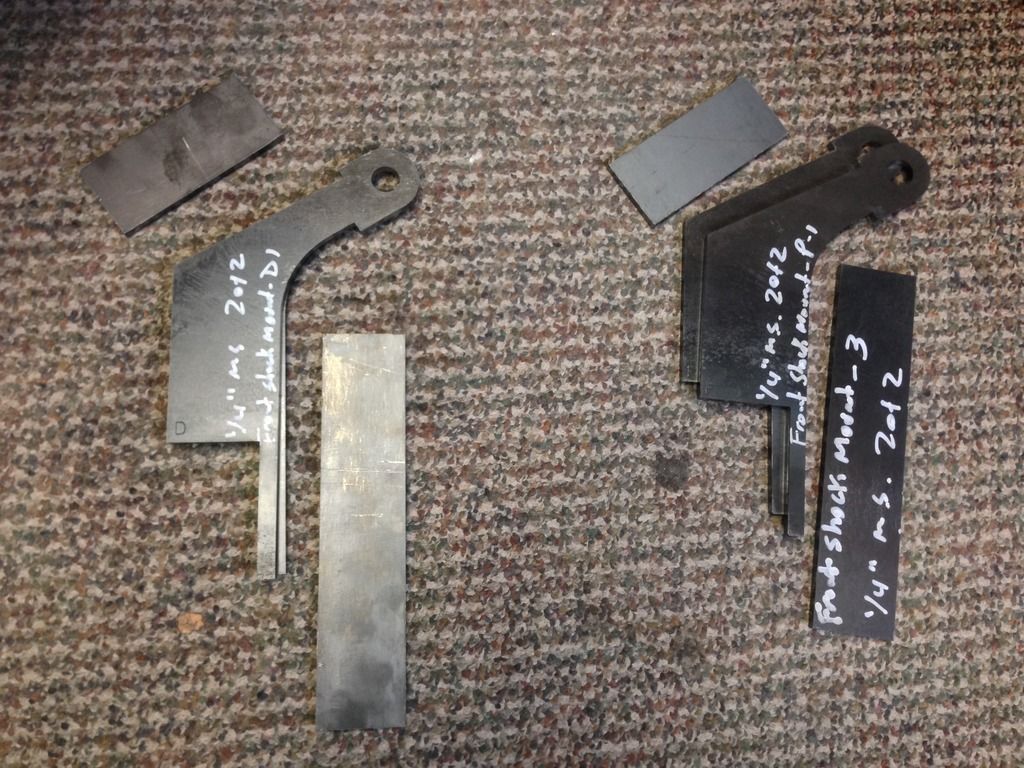
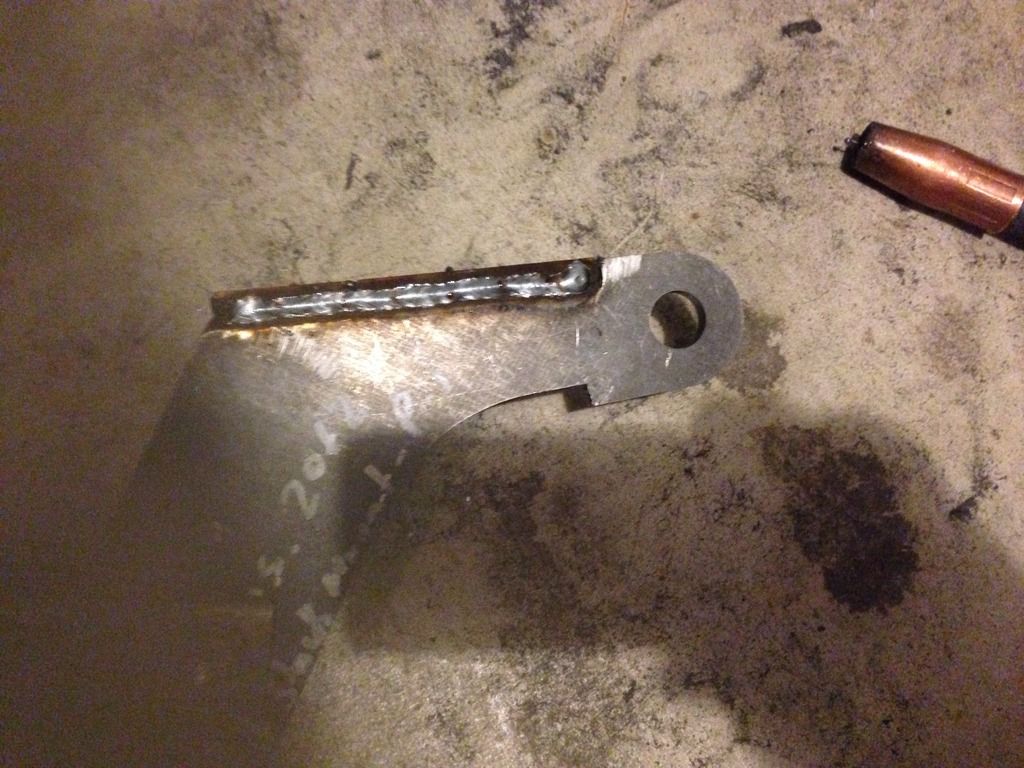
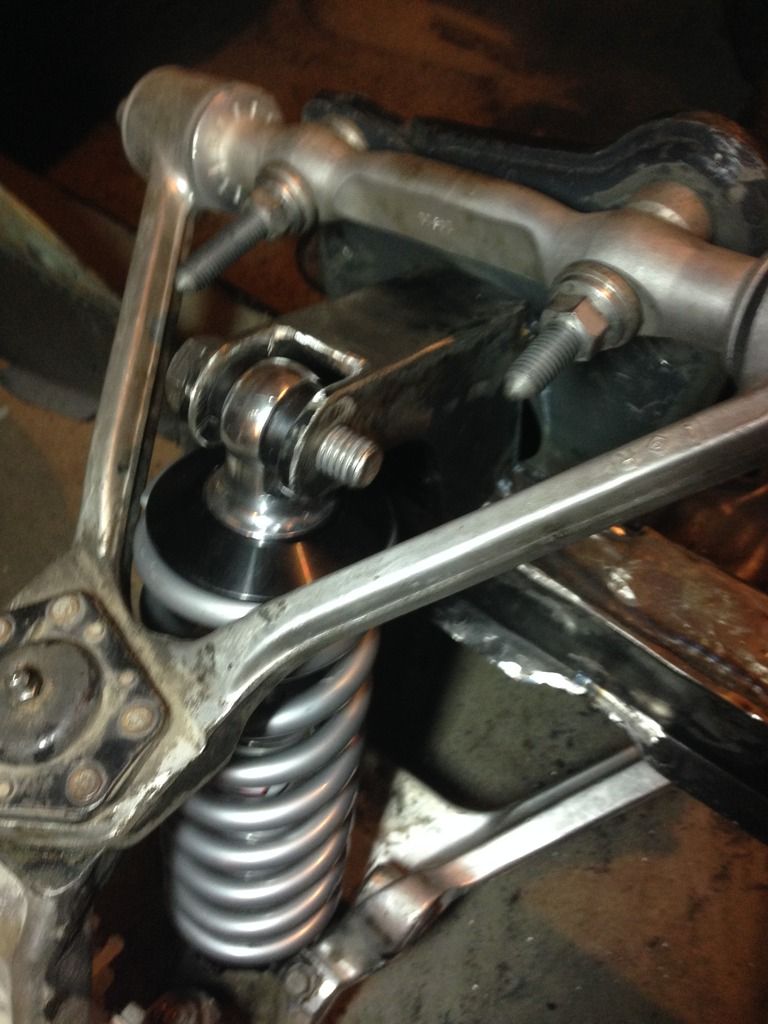
I'm lucky enough to work for a metal fabrication company which give me easy access to a laser cutter. This is probably one of my favorite perks at my work. I cut the parts out of 1/4" mild steel plate then proceed to weld them together.


I'm only tacking everything in for now. Once the front and rear are in I plan to take it to body shop and have it aligned. If everything checks out I'll weld it all in for good, but if I have to make some changes I only have to grind on a few tack welds.


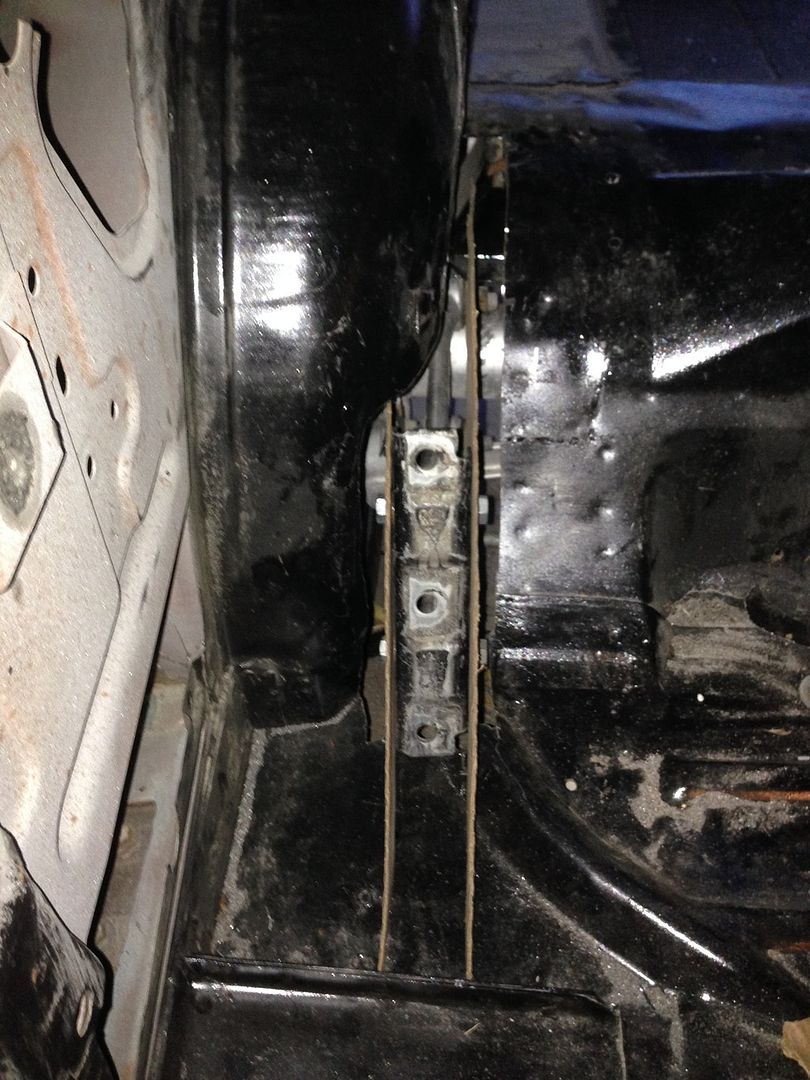
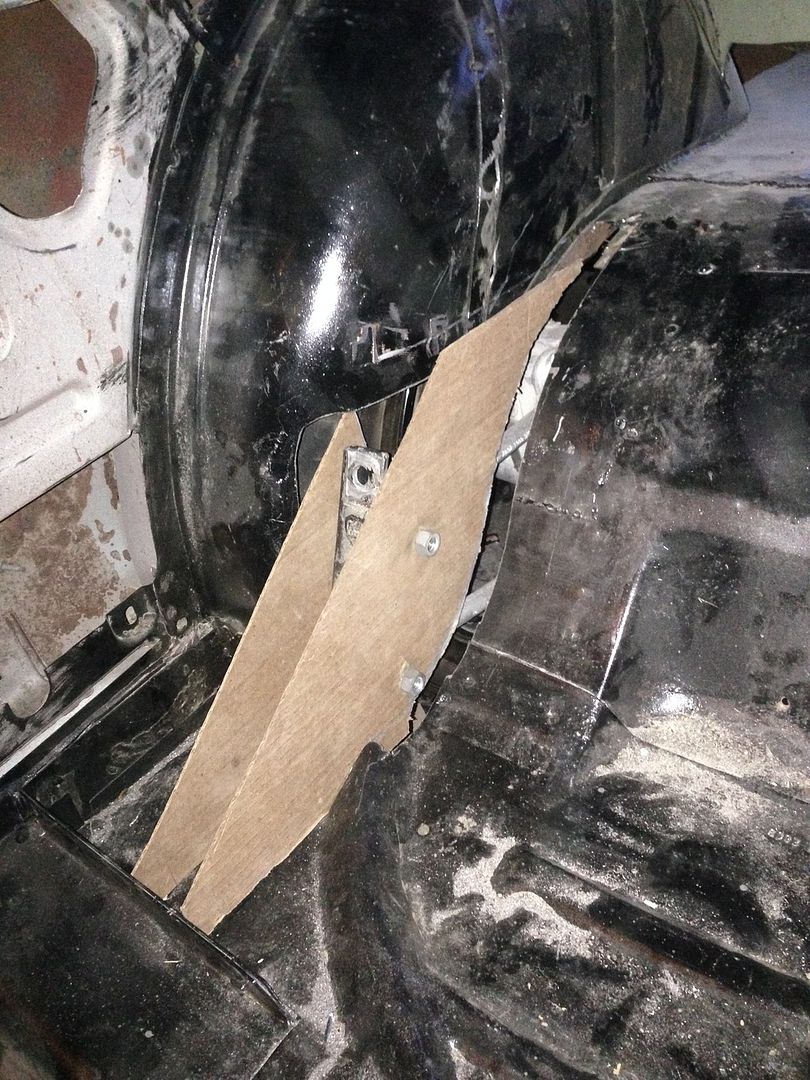 I got a little carried away cutting the floor up so there is some patch work that will need to be done. Now that I know what I am doing the other side will be much cleaner. I originally thought that I would need to notch out the interior panels to fit the control arm bracket but as you can see in the other image that won't be necessary.